Sunday, November 26, 2006


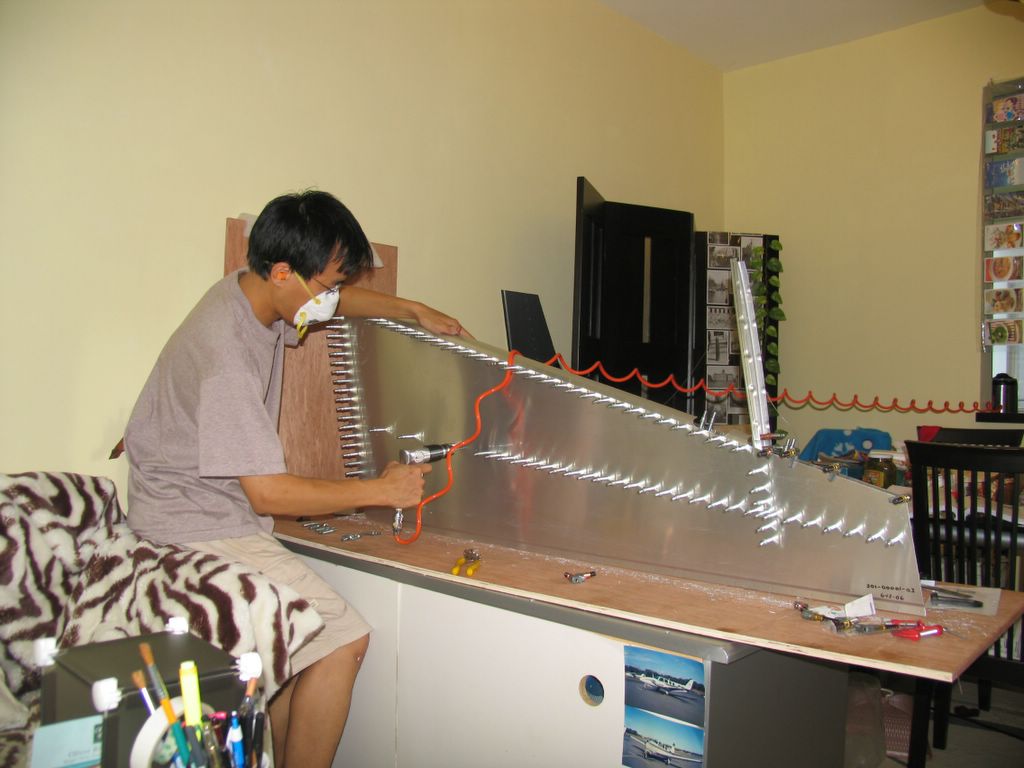
Disassembling the rudder parts for some de-burring. Posted by Picasa

Finally , all the fairing mounting holes had been drilled with K1000-08 nut plate in place. Posted by Picasa

Close up view of center fairing mounting holes on rib flange centreline. Posted by Picasa

View of eight clecos holding the tip rib in position. Posted by Picasa

Mission accomplished. Posted by Picasa

Angle drilling the trailing edge of the rudder.  Posted by Picasa

Placing the tip rib in place again. Posted by Picasa

Drilling completed..  Posted by Picasa

Left forward skin being drilled on the counterweight rib. Posted by Picasa

Right forward skin drilled and cleco'ed on the forward spar. Posted by Picasa

Photo showing me working on the forward skin. Posted by Picasa

Decision was made to drill one side of the forward skin at a time. Posted by Picasa

Close up of the tip rib in close proximity of the forward spar. trimming was done with snip cutter. Posted by Picasa

The tip rib being held in position by some side grip clamps. Posted by Picasa

The forward skin in place , ready for more drilling. Posted by Picasa

Now the side view.. Posted by Picasa

What a shot of the two rudder skins in place with lots of clecos. Posted by Picasa

The "finish" product from hours of drilling and cleco-ing. Posted by Picasa

Now the hiccup. I unintentionally injured myself while drilling. As a result my left thumb suffered. Lots of bleeding at first before i managed to stop it with a reliable handiplast.No pain no gain. Posted by Picasa

Almost done with drilling... Posted by Picasa

Counterweight rib being drilled and cleco'ed to the left rudder skin. Posted by Picasa

Guess the number of clecos i put in place. Posted by Picasa

Caught drilling root rib by my Canon Pro 1 camera... Lol  Posted by Picasa

Front spar drilled and cleco'ed with the left rudder skin. Posted by Picasa

Now repeating the tedious work for the left rudder skin. Posted by Picasa